

If you are building robotics, RC vehicles, drones, or gaming controllers, the PS2 Joystick Module Breakout Sensor is one of the most useful input devices you can use with Arduino or ESP32.
This small module allows you to control movement in two directions (X and Y axis) and also includes a push button when the joystick is pressed down.
In this article, we will learn:
- What the PS2 Joystick Module is
- How it works
- Pinout explanation
- How to connect it with Arduino
- Example code
- Practical projects you can build
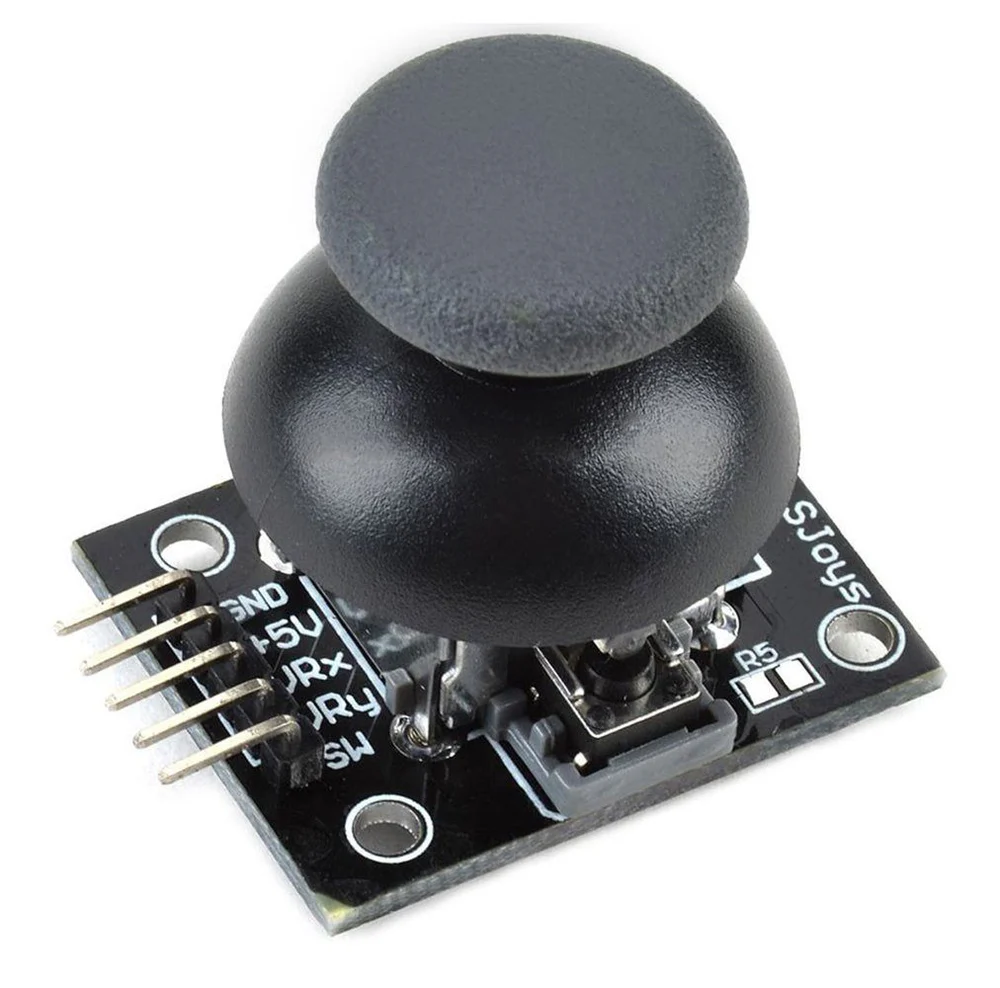
What is a PS2 Joystick Module?
The PS2 Joystick Module is an analog input device that works like the joystick used in gaming controllers.
It contains:
- Two potentiometers (for X and Y movement)
- One push button switch
- A breakout board for easy connection
When you move the joystick:
- The X-axis value changes (left and right movement)
- The Y-axis value changes (up and down movement)
- The Arduino reads these values using its analog pins.
Features of PS2 Joystick Module
- Dual axis control (X and Y)
- Integrated push button
- Works with Arduino, ESP32, Raspberry Pi
- Easy to interface
- Low cost
- Analog output
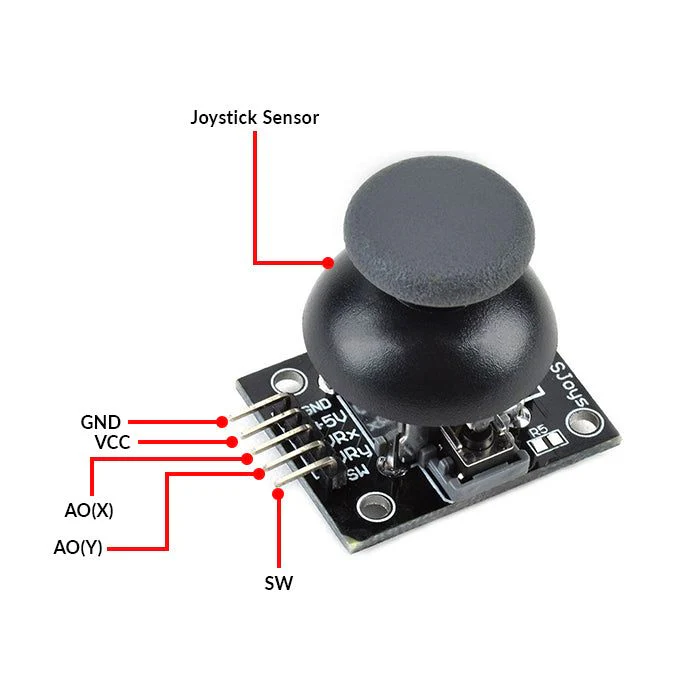
Pinout of the Module
Most PS2 joystick modules have 5 pins.
| Pin | Function |
|---|---|
| VCC | Power supply (3.3V – 5V) |
| GND | Ground |
| VRX | X-axis analog output |
| VRY | Y-axis analog output |
| SW | Push button output |
How the Joystick Works
The joystick contains two potentiometers placed perpendicular to each other.
When you move the stick:
- The resistance changes
- Arduino reads the value using analogRead()
Typical values:
| Position | Analog Value |
|---|---|
| Center | ~512 |
| Up | ~1023 |
| Down | ~0 |
| Left | ~0 |
| Right | ~1023 |
Connecting PS2 Joystick with Arduino
Wiring
| Joystick | Arduino |
|---|---|
| VCC | 5V |
| GND | GND |
| VRX | A0 |
| VRY | A1 |
| SW | D2 |
Arduino Code Example
int xPin = A0;
int yPin = A1;
int swPin = 2;

void setup() {
  Serial.begin(9600);
  pinMode(swPin, INPUT_PULLUP);
}

void loop() {
  int xValue = analogRead(xPin);
  int yValue = analogRead(yPin);
  int button = digitalRead(swPin);

  Serial.print("X Axis: ");
  Serial.print(xValue);

  Serial.print(" | Y Axis: ");
  Serial.print(yValue);

  Serial.print(" | Button: ");
  Serial.println(button);

  delay(200);
}
Output on Serial Monitor
When you move the joystick you will see values like:
X Axis: 520 | Y Axis: 510 | Button: 1
X Axis: 1023 | Y Axis: 512 | Button: 1
X Axis: 0 | Y Axis: 512 | Button: 1
Pressing the joystick will change:
Button: 0Practical Projects Using PS2 Joystick
Here are some cool projects you can build using this module:
- Arduino RC Transmitter - Control robots or RC cars using joystick input.
- Robot Arm Control - Use the joystick to control servo motors.
- Drone Controller - Use joystick input to control drone direction.
- Camera Pan Tilt System - Control camera movement using servos.
- Game Controller - Create a DIY gaming controller using Arduino.
Using PS2 Joystick with ESP32
The same module can also be connected to ESP32.
Example pins:
| Joystick | ESP32 |
|---|---|
| VRX | GPIO34 |
| VRY | GPIO35 |
| SW | GPIO25 |
ESP32 reads joystick values using analogRead() just like Arduino.
Advantages of PS2 Joystick Module
- Simple to use
- Cheap and widely available
- Good for beginners
- Supports analog control
- Works with many microcontrollers
Conclusion
The PS2 Joystick Module Breakout Sensor is a powerful and easy-to-use input device for Arduino and ESP32 projects. It allows you to control movement in two directions and also includes a push button, making it perfect for robotics and RC applications.
If you are building projects like RC transmitters, robot arms, or drones, this module is a great choice.